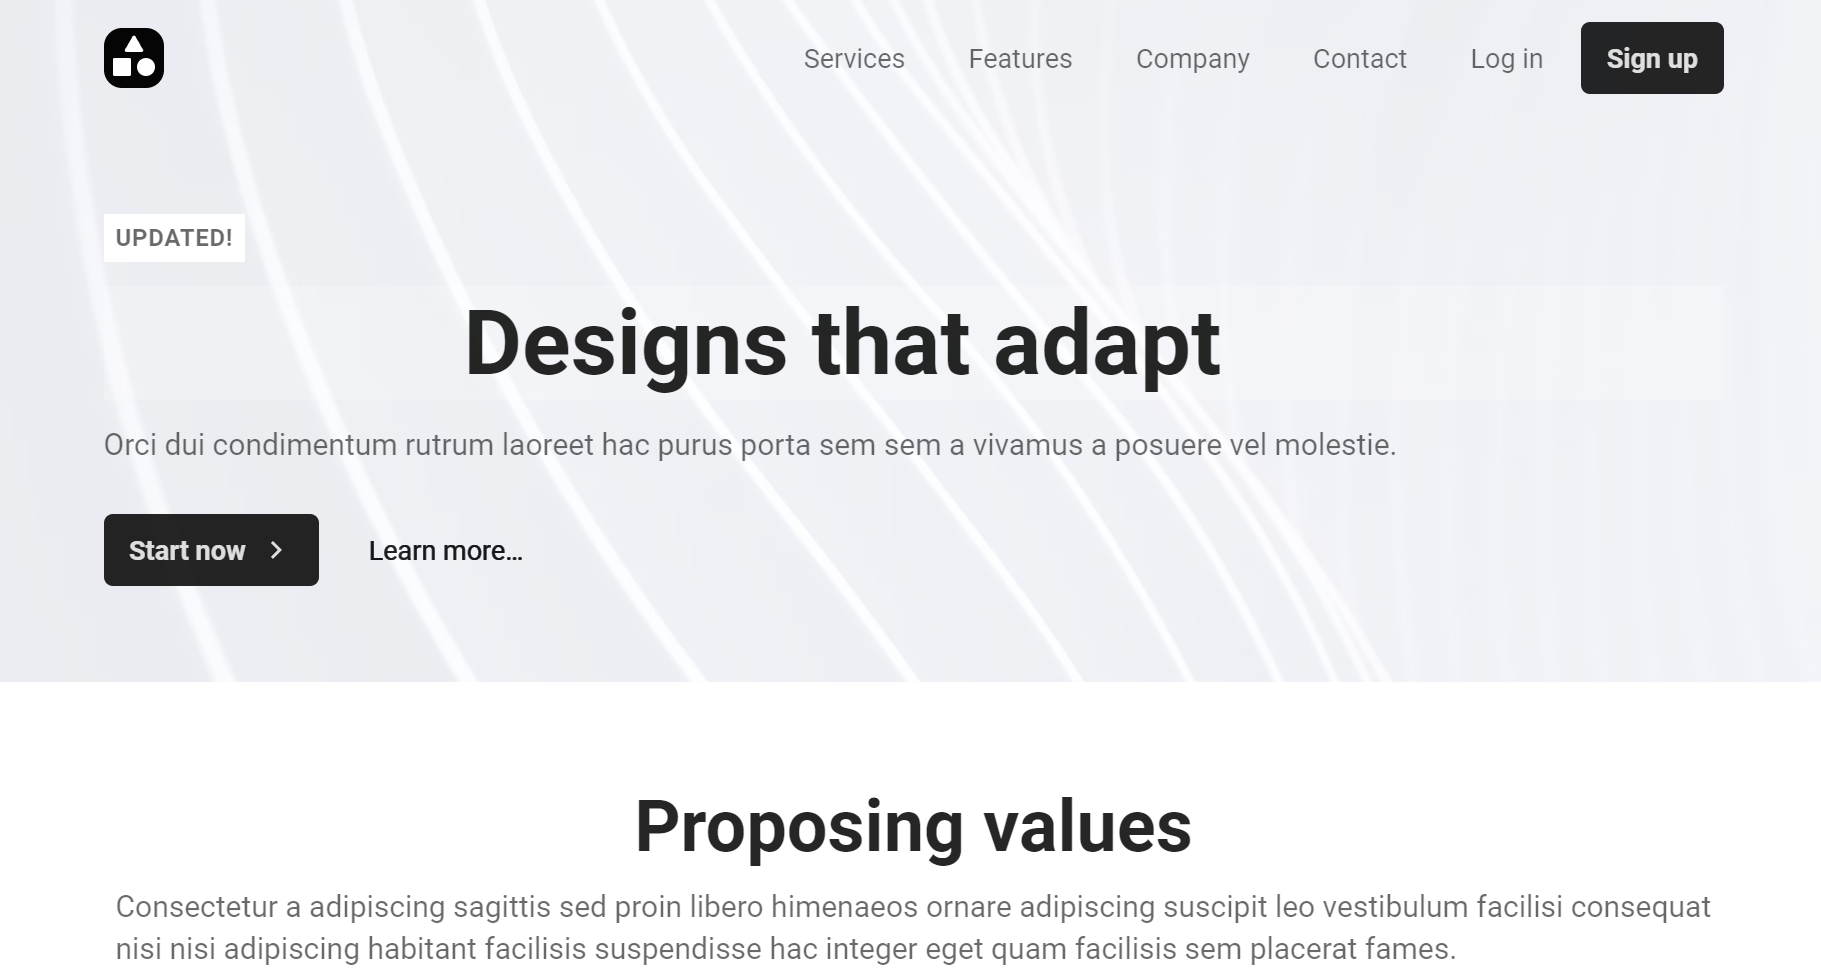
Hosting Plasmic Sites
You’ve built a new Plasmic website and now you need to get it online. Where do you host it? What's the easiest? This is where Fathym saves the day! Follow these steps to get your Plasmic site up and running in minutes.

- When publishing your site from Plasmic Studio, use the CodeGen mode and publish to GitHub.
You have two options when hosting with Fathym: GitHub and NPM.
Host your site from GitHub
Step 1: Update YML file
When viewing your repo in GitHub, click on the
.github/workflowsfolder and then select theplasmic-push.ymlfile.At the bottom of the file, add the following lines, and then commit the file:
# publish github artifacts
     - name: Archive production artifacts
       uses: actions/upload-artifact@v2
       with:
         name: jeremytomlinson-designsthatadapt
         path: ${{ steps.build.outputs.publish_dir }}
Replace
jeremytomlinson-designsthatadaptwith your project settings. Use yourgithubUsername-nameOfgithubRepo
Step 2: Fathym Hosting with GitHub
Create a Fathym Account. Sign up at https://www.fathym.com.
After signup, authorize with GitHub and select which organization(s) to make available inside of Fathym.
On the Projects page, select
Add Project.In Fathym, select your application and fill out the
Add Appform. Note: the route is the path your app will be served on. For example, https://shared.fathym.com/plasmicsite. In this case, the /plasmicsite is the route. You can choose any route for your web project. In addition, the same web project can be hosted multiple times on different routes if desired. This is especially useful for QA and Testing.In the
Processor Detailssection, select the type of project. In this case we're using aView Package.Use "index.html" as the Default file.
For the second Type field, select
GitHub.Select your Organization, Repository, Build Path, and Build Number and click
Save Application.- Build Path: Select
plasmic-push.yml - Build Number: You can select any build of your repository. It doesn't have to be the latest build. If you're not sure what build to use, enter
latest.
- Build Path: Select
Your Plasmic site is now ready to rock! Click the Launch icon
to view your site hosted on fathym.com.
Host your site from NPM
Step 1: Create and Publish your NPM Package
- In the package.json file, change the name to be what you want the NPM package to be named. For example:
"name": "@fathym/public-web"
- Next, copy/paste the following in the "scripts" section:
"deploy": "npm version patch && npm run deploy:app",
"deploy:app": "npm version patch --prefix public && npm run export && npm publish ./out --access public",
"export": "next build && next export",
- Create another package.json file in the /public directory. For it's contents, copy/paste the name and version from your main package.json file. For example:
{
  "name": "@fathym/public-web",
  "version": "0.1.0"
}
Replace "@fathym/public-web" with your NPM package name and use whatever version you want.
Make sure both of the package.json files have the same 'name' and 'version'.
- In your Visual Studio Code terminal, run "npm run deploy" to create and deploy the NPM package to https://www.npmjs.com/. It normally takes a few minutes for your NPM package to appear on https://www.npmjs.com/
Step 2: Fathym Hosting with NPM
Create a Fathym Account. Sign up at https://www.fathym.com.
On the Projects page, select
Add Project.In Fathym, select your application and fill out the
Add Appform. Note: the route is the path your app will be served on. For example, https://shared.fathym.com/plasmicsite. In this case, the /plasmicsite is the route. You can choose any route for your web project. In addition, the same web project can be hosted multiple times on different routes if desired. This is especially useful for QA and Testing.In the
Processor Detailssection, select the type of project. In this case we're using aView Package.Use "index.html" as the Default file.
For the second Type field, select
NPM.Enter your npm package (@fathym/public-web) and the version. If you're not sure what version to use, enter
latest.Your Plasmic site is now ready to rock! Click the Launch icon
to view your site hosted on fathym.com.
Start a free trial at https://www.fathym.com/dashboard
Learn More
Fathym is an all-in-one platform for running web projects. This means you can use Fathym for hosting most, if not all, of your web projects. Fathym is simple to use and set up which works perfectly when you have a basic website you want to get up and open for the world to use quickly – like this Plasmic site. Sign up at https://www.fathym.com