Deploying Vue Sites
Getting your next site up and running with Vue is easier than ever with Fathym. Here, we'll quickly look at setting up the basics: a generic Vue site and the Fathym setup, to power DevOps and deployment, so that you can focus on customizing and developing your user experience.
If you'd like to skip ahead and get right to deploying, try a fork of this Vue example and be coding in minutes.
Setting up the code
The first step for this guide is going to be setting up our source code and initial Vue project.
Source Control
Let's get started setting up our GitHub repository. Choose the organization (or your individual account) in GitHub, select the repositories tab and then new repo. Give the repo a unique name and description, select public, and I like to seed the repo with a license file (generally an MIT license for something like this). Now that we have a repository set up, let's clone it to our local system and open the folder with VS Code.
Vue Project
A full, in-depth dive into Vue is not the purpose of this article. Generally you'll want to follow along with the latest Vue docs when creating a new project. Sometimes things change over there, but in general you'll want to run the following commands from within your new project to get it set up (replace vue-typescript-app with a name of your choosing).
npm install -g @vue/cli
vue create vue-typescript-app
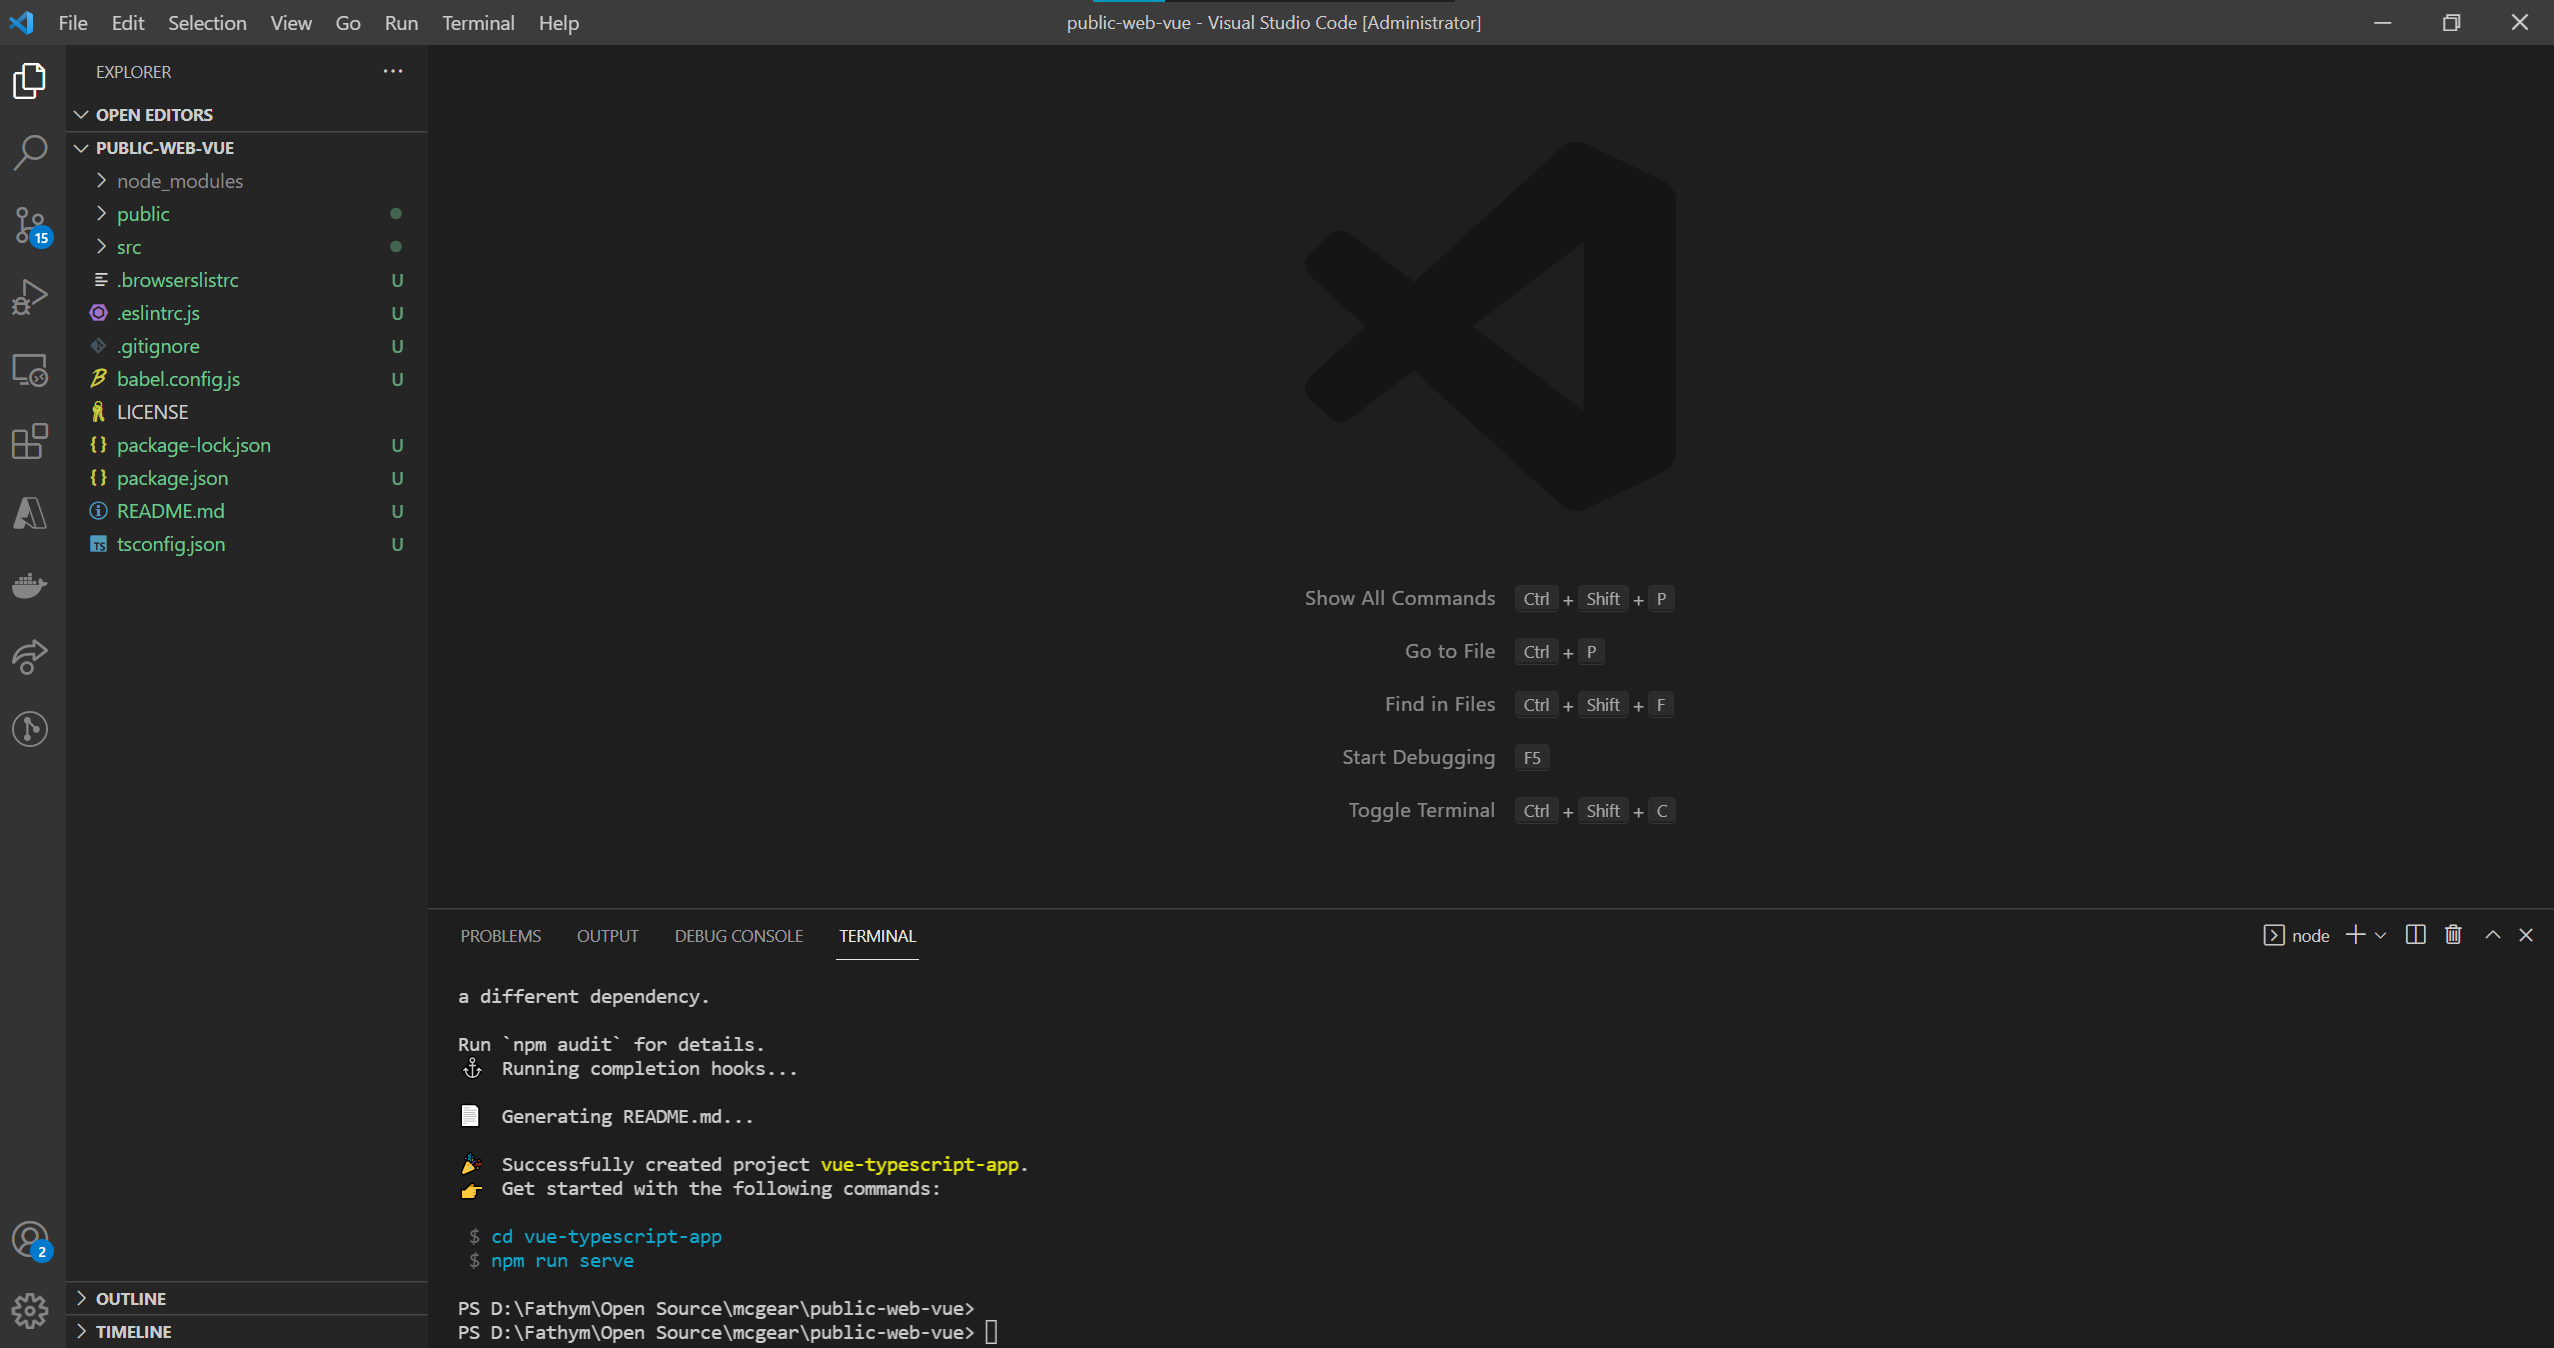
You will be prompted with some choices, choose what makes sense to you. We'll choose Manually select features option and select what we like, specifically enabling Typescript. Use the space bar to enable and disable features, when ready hit enter to finish the final steps of the CLI, and we recommend saving your settings for future use. Next, we like to move the contents of the vue-typescript-app (or whatever you may have named your project) directory up to the root of the project. This will leave a starting point that looks something like the following:

The npm packages were already installed, so you can now run the following command to start your site:
npm run serve
With the site up and running on localhost:8080, go ahead and commit the changes back into your repository so that our working (albeit basic) Vue site is up and ready for deployment.
If you're using VS Codea and are interested in some Vue tooling check out this extension.
Deploying the Code
With code ready to go, we can set up our Fathym project for builds, deployments, and hosting. You'll need a free account from Fathym to get started. Open the create project wizard to the custom project flow.
For an in-depth look at the setup and configuration, check out the getting started guide.
Project Setup
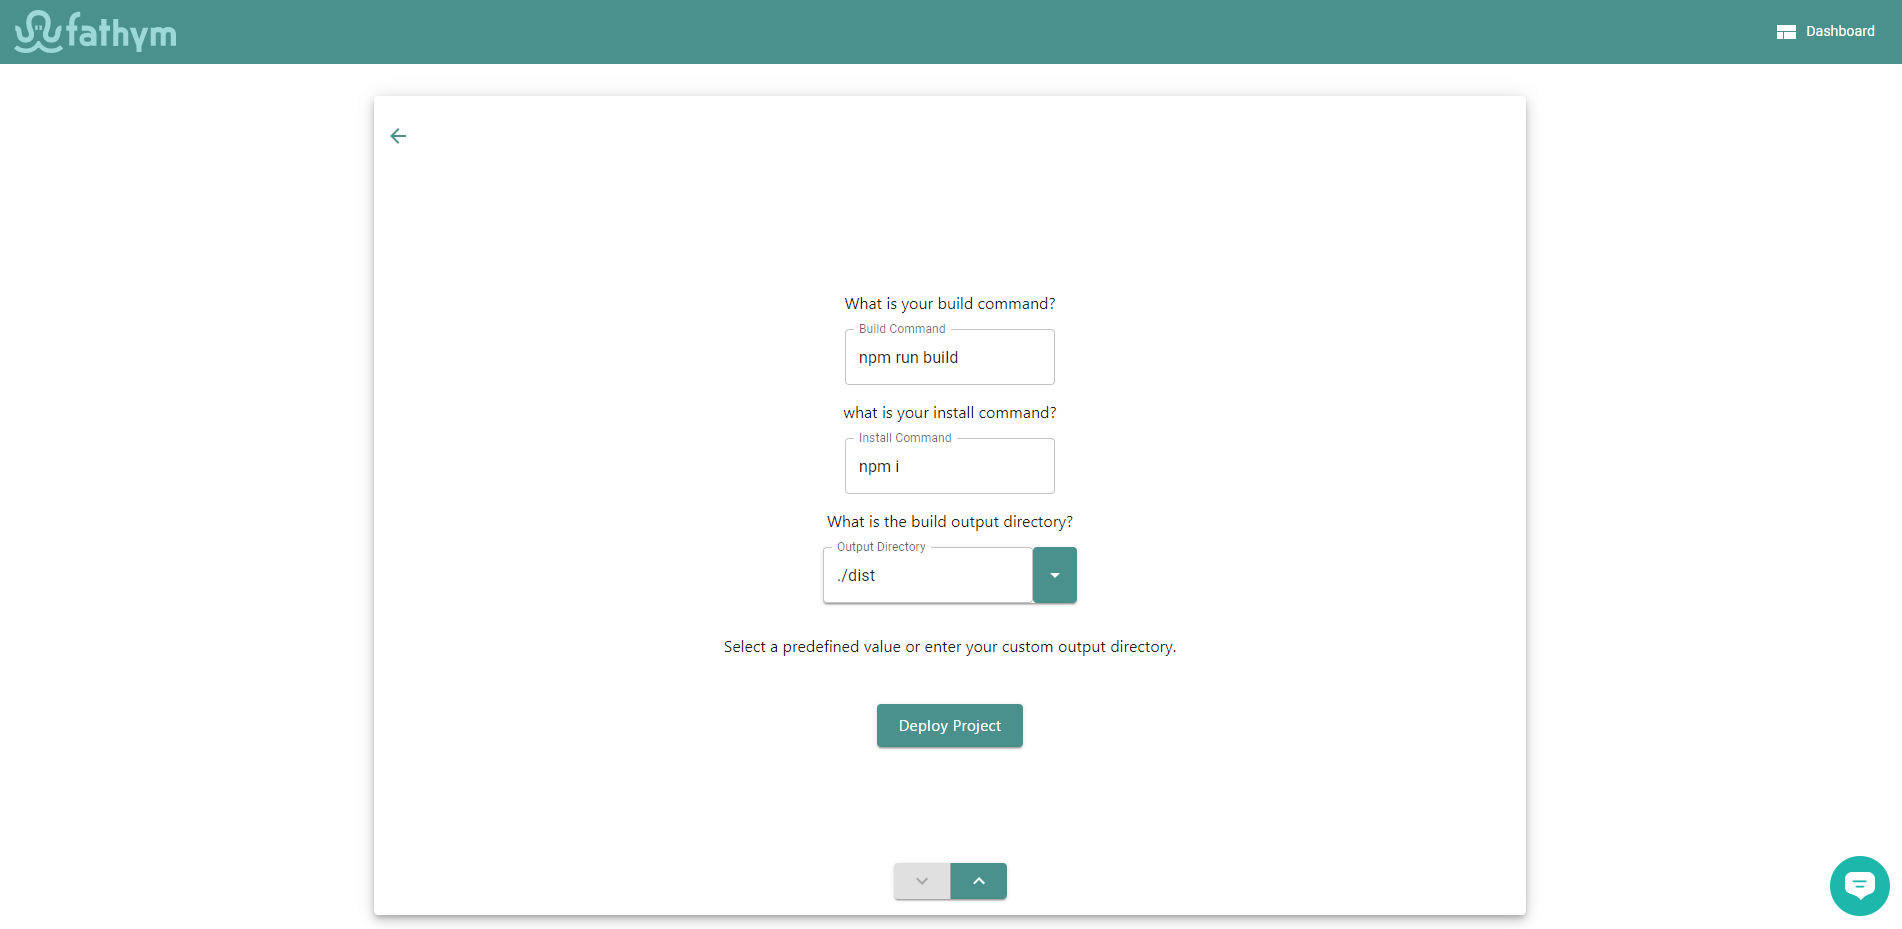
Within the custom project flow of the wizard, you can start by connecting to GitHub, if you haven't already, and then input a project name and click next. Now it's time to set up the source control by selecing the organization, repository, and branch set up previously with your Vue example code. Click next, and you'll be on the final build screen. You can leave the build and install commands at their defaults (npm run build and npm ci respectively). Make sure that the output directory is set to ./dist (this is where the contents of the compiled app, and index.html or other default file lives).

You can now deploy your project, and after complete head into the dashboard. A new build will be running, and once that is done you can launch your custom Vue project and see it running at your temporary domain.
For more details on the custom project flow, read through the deploying code portion of the getting started guide.
Custom Domains
As a bonus last step, you can follow our custom domain guide from the getting started to get your site up and running on your own domain.
Next Steps
Now you're all set up with a functioning development through deployment workflow for your Vue project. Make changes and commit them to your repository, then follow our updating views guide to learn more on updating your builds, and use our testing use cases to learn how you can test new builds before releasing them to your users. Happy coding!
Fathym is an all-in-one micro frontends platform for running web projects. This means you can use Fathym for deploying most, if not all, of your web projects. Fathym is simple to use and set up which works perfectly when you have a basic website you want to get up and open for the world to use quickly – like this Docusaurus site. Sign up at www.fathym.com